
Printing Instructions
Thank you choosing our printables. We’re excited for you to add our designs to your planner.
There are many ways to print and cut your own inserts at home. For the best printing results of our digital designs, please follow the below instructions or reach out via email for assistance
All Noted Co. digital files are designed to be printed on A4 / US letter and cut down to the intended size or on pre-cut paper. For easy printing, we recommend you download the free Adobe Acrobat Reader program here.
HOW TO PRINT ON A4/US LETTER PAPER
With a duplex printer
Duplex printers allow you to print on both sizes.
- Open your downloaded file with Adobe Acrobat Reader.
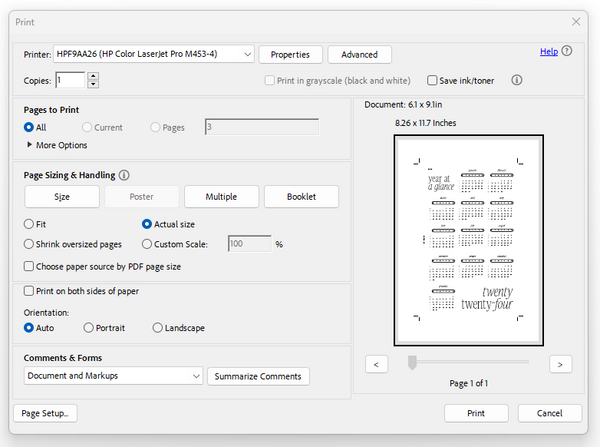
- When you are ready to print the file , go to File > Print to open the printing setting.
- Under Pages to print: Select the pages and number of copies you would like to print or select
- Under Page Sizing and Handing, always select actual size to ensure the inserts are accurate to their measurements. Make sure to check the Print on both sides of paper box, and choose long edge binding.
- Under Orientation, select Auto Portrait / Landscape
- Double check the above settings are correct and print your inserts
With a non-duplex printer
- Open your downloaded file with Adobe Acrobat Reader.
- When you are ready to print the file , go to File > Print to open the printing setting.
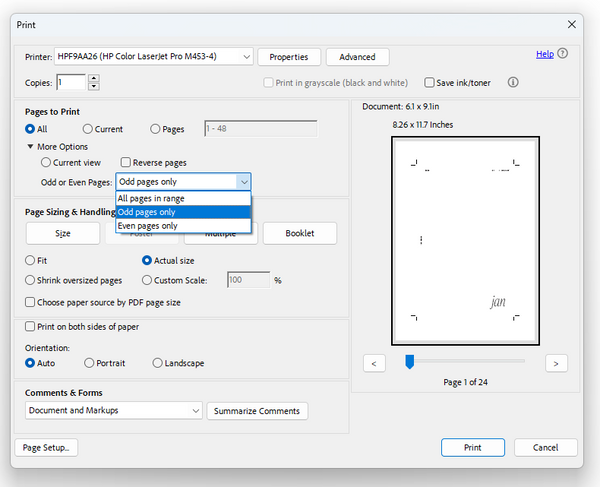
- Under Pages to print: Select the page range you would like to print, then select ‘odd pages’
- Under Page Sizing and Handing: select ‘actual size’
- Under Orientation: select Auto Portrait / Landscape
- Double check the above settings are correct and print your inserts
- Once you have printed the odd pages, flip your pages and print again using the ‘even pages only’ option with the same settings previously used. Take note of the order to ensure that the correct pages print on the back of each other.
Printing on pre-cut planner paper
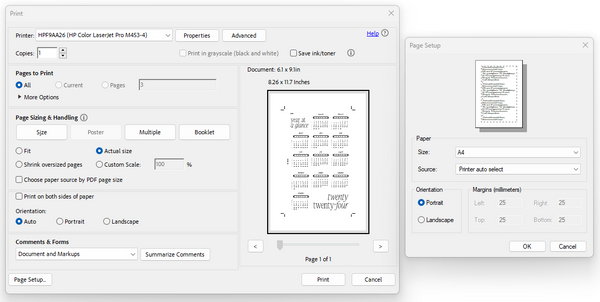
- From your downloaded files, choose the file without crop marks.
- Open your downloaded file with Adobe Acrobat Reader.
- Choose your paper size under ‘Page Setup’
- Page sizing and handling: Select ‘Actual size’. Crop marks will be removed during printing.
- Orientation: Auto
- Pages to print: Follow the same instructions for duplex or non-duplex printing above.
CUTTING YOUR PRINTED INSERTS
- Cut your new printed inserts along the crop marks
- A larger margin space is designed for hole-punching and can be located by the ‘Noted Co.’ text written vertically along the long edge of the page.
- Hole punch according to your planner’s size.
Enjoy your new Noted Co. inserts.